You’ve probably been there. You're holding a heavy mirror, a brand-new shelf, or a TV mount, and you press that little yellow tool against the wall. It beeps. You drill. Crunch. Nothing but hollow drywall and a crumbling hole where a sturdy piece of wood should be. Using a zircon stud finder how to use properly isn't just about sliding it across the wall and hoping for a light show. It is actually a bit of a science.
Honestly, most people fail because they treat it like a magic wand. It's not. It’s a density sensor. If you don't understand how it "sees," you’re going to end up with a wall that looks like Swiss cheese.
The Secret is the Battery (No, Seriously)
I can’t tell you how many times a "broken" tool is just a hungry one. Zircon tools are notorious for needing high-voltage stability. If you grabbed a 9V battery out of the junk drawer that’s been sitting there since 2022, it’s not going to work.
The tool might turn on. The lights might even flash. But the internal sensor won't have enough juice to penetrate the wall board. You need a brand-new, alkaline battery with an expiration date at least three years out.
If your stud finder starts acting erratic or beeping for no reason, swap the battery first. It’s the "did you try turning it off and on again" of the construction world.
Why Calibration Is Your Best Friend
Calibration is where the magic—or the disaster—happens. You have to tell the tool what a "hollow" wall feels like before it can find a "dense" stud.
How to Calibrate Like a Pro
- Find a "dead" spot: Pick a place on the wall where you’re reasonably sure there isn't a stud.
- Flat and flush: Place the Zircon flat against the wall. If it’s tilted, you're toast.
- The Button: Press and hold the power button.
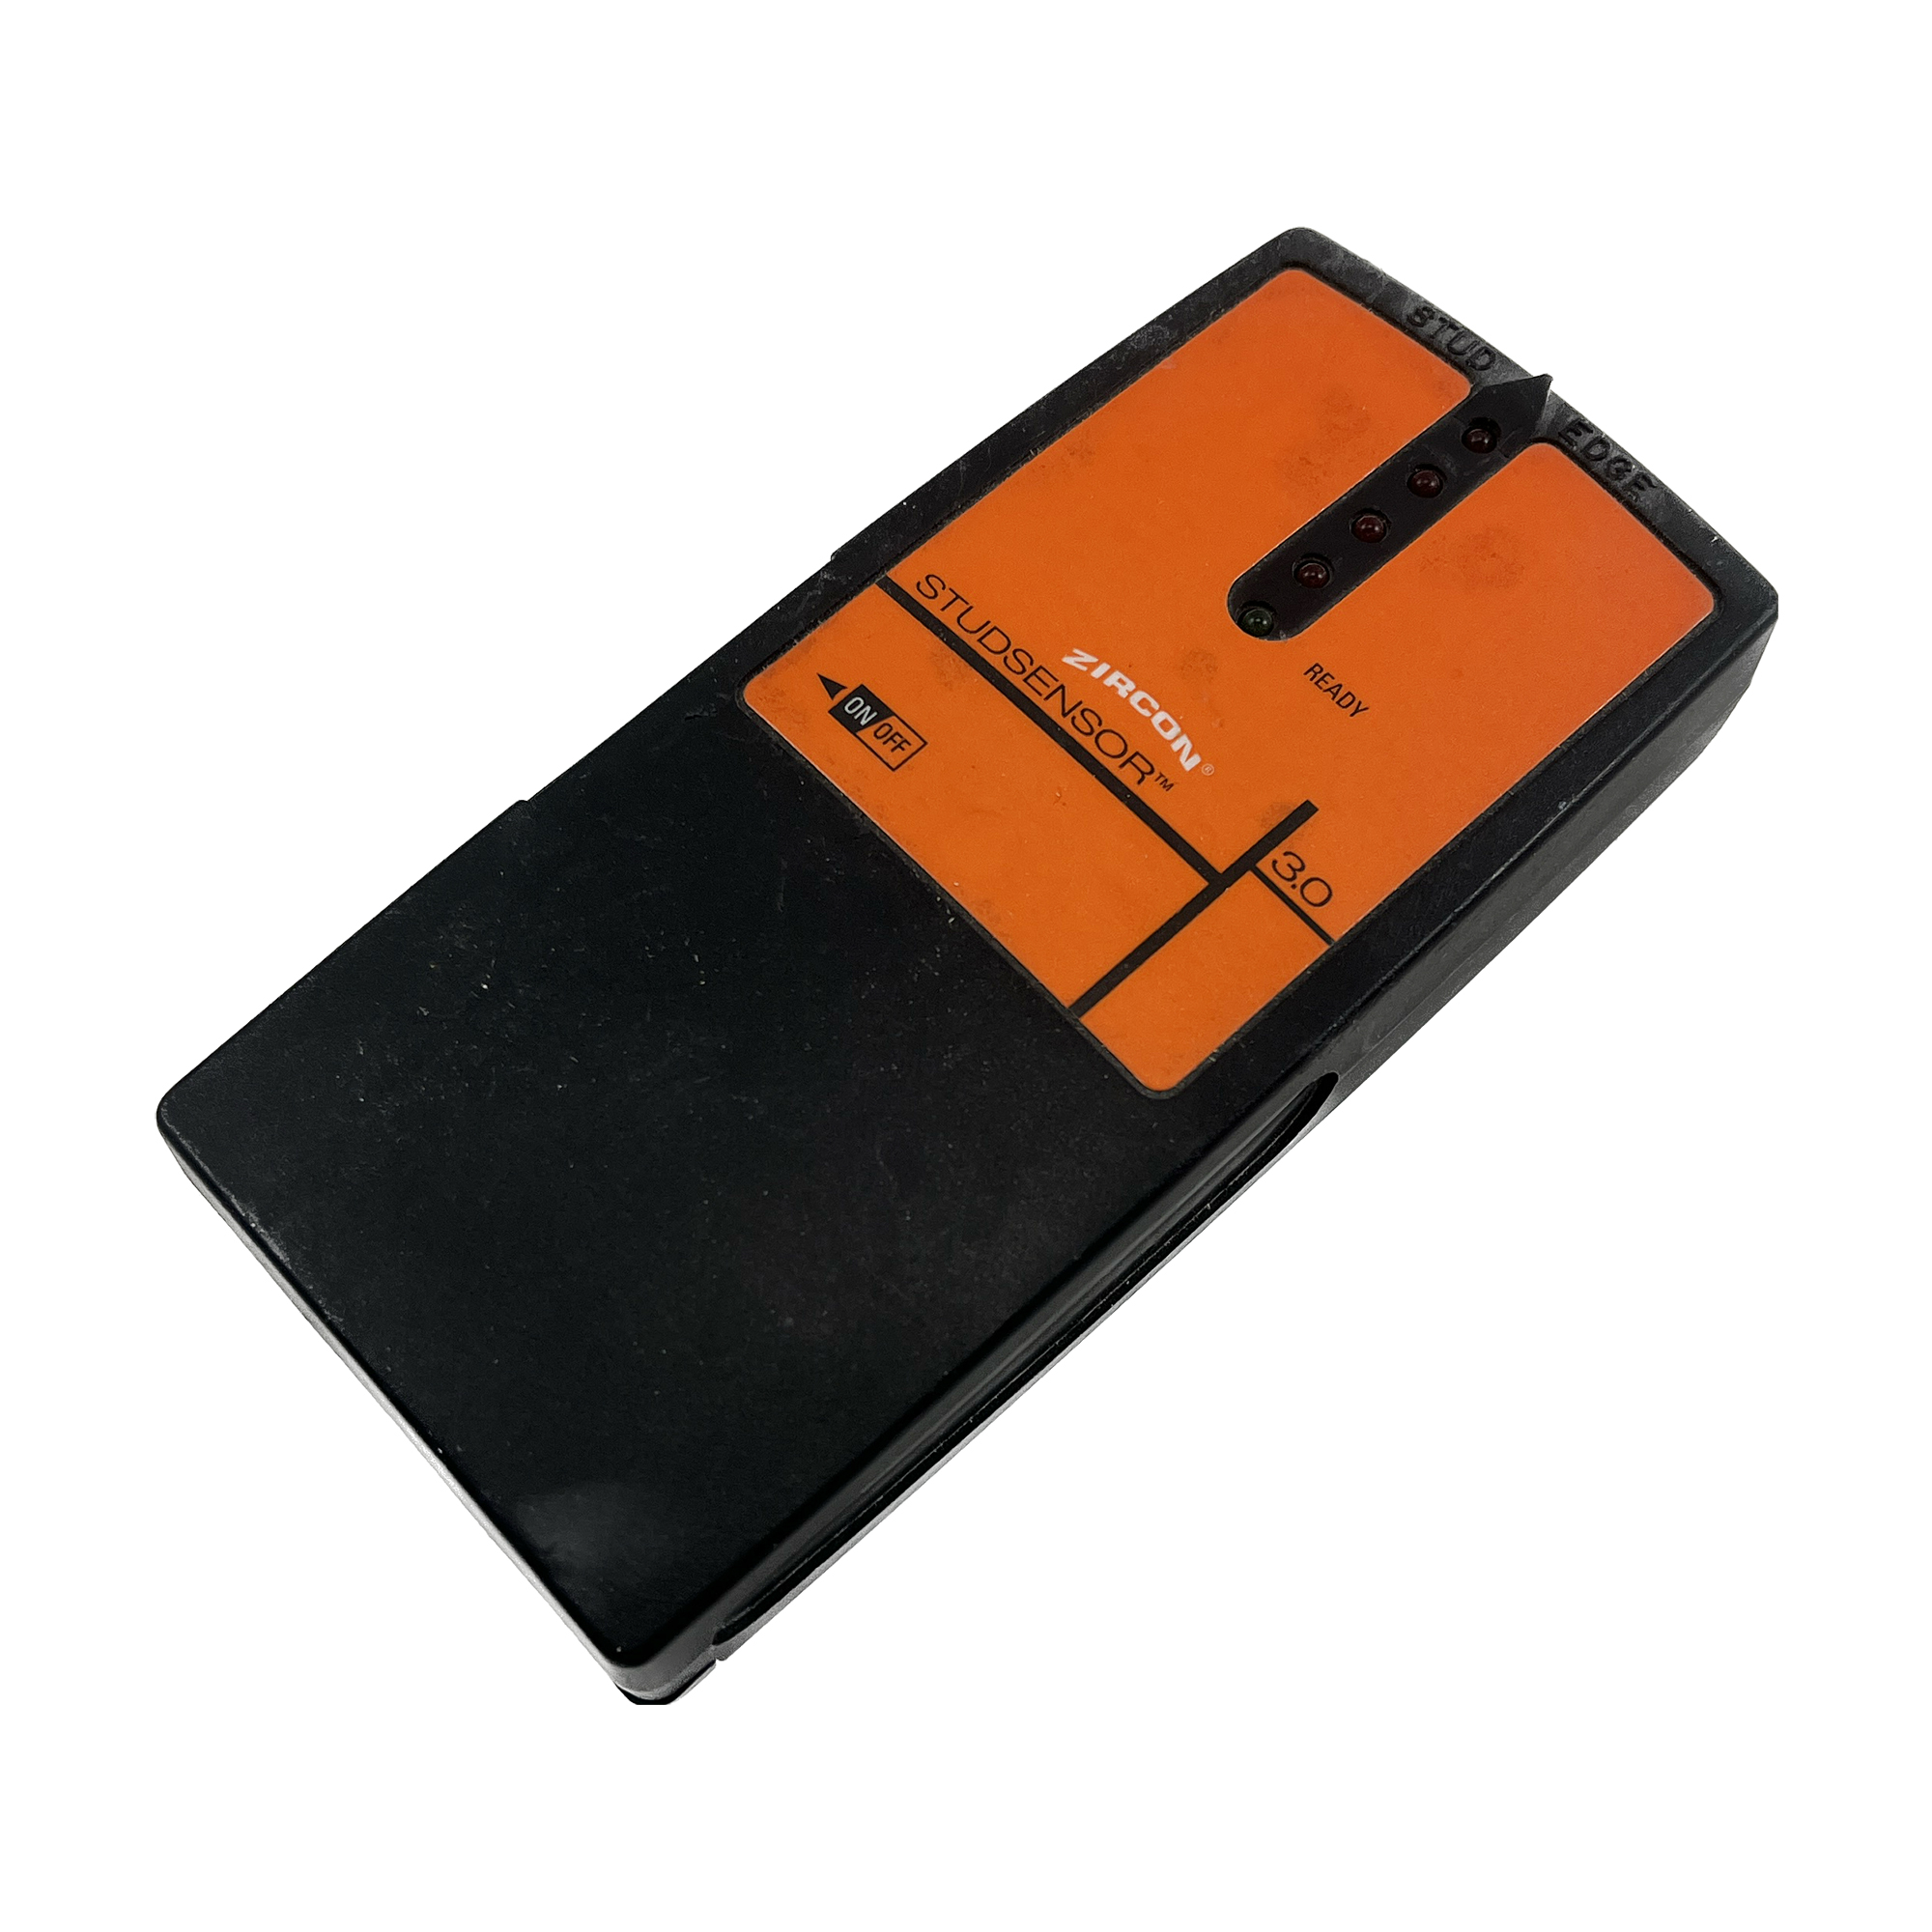
- Wait for the beep: Most models will give a quick chirp or show a "Ready" light (like the TruCal light on newer SuperScan models).
What if it keeps beeping? If the tool starts chirping like a frantic bird immediately, you probably calibrated it right over a stud. This is a "calibration error." Basically, the tool thinks the high density of the stud is the "empty" baseline. It won't find anything denser than that, so it freaks out. Move it two inches to the left and try again.
Using a Zircon Stud Finder: The "Slide and Mark" Method
Once it's calibrated, keep that button held down. Don't let go.
Move the tool slowly. I mean really slowly. If you whip it across the wall like you're racing, the processor won't keep up.
When you hit the edge of a stud, the LEDs will climb, or the screen will show a bar. On an Edge Finding model (like the StudSensor HD25), this is your signal to stop. Mark that spot with a pencil. Now, come at the stud from the other side. Mark that edge too. The center of your stud is exactly between those two marks.
If you have a Center Finding model (the ones with the "Target Control" or "CenterVision" tech), it will actually point to the middle for you. Even then, I always double-check.
DeepScan vs. StudScan: Which One?
Most Zircon scanners have two main modes.
StudScan is for your standard 3/4-inch drywall. It’s the "default" and the most accurate for 90% of homes.
DeepScan is the heavy hitter. It doubles the scanning depth to about 1.5 inches. You only use this if you’re looking through thick plaster, double-layered drywall, or subflooring.
Here is the kicker: Do not use DeepScan on regular walls. It’s too sensitive. It’ll pick up pipes, wires, and even your own hand's moisture if you aren't careful. It’s like using a telescope to read a book—too much power for the task at hand.
The Lath and Plaster Nightmare
If you live in a house built before the 1950s, a standard Zircon might struggle. Lath and plaster walls are a chaotic mess of wood strips and inconsistent clumps of plaster (called "keys").
The density is all over the place.
For these walls, you basically have to use a Metal Scan mode if your tool has it (like the MultiScanner i520). You aren't looking for the wood; you're looking for the tiny iron nails that hold the lath to the studs. If you find a vertical line of nails, you’ve found your stud.
Safety First: The WireWarning Factor
Most modern Zircons have a "WireWarning" feature. It’s a little lightning bolt icon. If that thing starts flashing, stop drilling. It detects live, unshielded AC wiring. However, it’s not foolproof. If the wire is in a metal conduit or deeper than two inches, the sensor might miss it. Always look for clues: Is there an outlet directly above or below where you’re scanning? If so, there is a 100% chance a wire is nearby.
Pro Tips for Clean Results
- The Tape Trick: If you don't want to draw on your expensive wallpaper, put a strip of blue painter's tape on the wall first. Mark the tape instead.
- Mapping: Don’t just find one spot. Find the stud at three different heights—eye level, waist level, and near the floor. If the marks don't line up in a straight vertical line, you might be looking at a pipe or a diagonal brace.
- The "Knock" Test: Use your knuckles. A stud sounds "thuddy" and solid. The space between sounds hollow. Use your ears to confirm what the Zircon is telling you.
Actionable Steps for Success
- Check the 9V battery: Ensure it's brand-new alkaline (not rechargeable).
- Calibrate away from the target: Start on a known "empty" part of the wall.
- Slide slowly: Keep the tool flat and move horizontally.
- Mark both edges: Even with center-finding tools, marking both sides prevents mistakes.
- Confirm the 16-inch rule: Studs are usually 16 or 24 inches apart. If your "stud" is 11 inches from the last one, it’s probably a pipe.
Mapping the wall takes an extra five minutes, but it saves you a lifetime of patching holes. Start by identifying your first stud near a corner or an outlet, then use the 16-inch rule to predict where the next one should be before you even turn the tool on. This "verify and trust" approach is how the pros do it.