You know that feeling when you've spent three hours hunched over a clipboard, your neck is screaming, and you realize your "cool" chevron has accidentally morphed into a weird, lumpy mess? It happens. Honestly, the zig zag bracelet pattern is the absolute gatekeeper of the friendship bracelet world. It’s the design that separates the casual "I make these at summer camp" knotters from the people who actually understand tension, string management, and the physics of a hitch.
Most people think it’s just a chevron with a twist. It isn't. Building on this idea, you can also read: The Debt That Swallows the Sun.
If you’ve been scrolling through Pinterest or BraceletBook and seeing those crisp, sharp angles that look like they were 3D-printed, you’re probably wondering why yours looks like a wet noodle. It’s usually not your thread. It’s your hands. Specifically, it’s how you handle the "pivot" point. That sharp turn is where the magic (or the disaster) happens.
The Geometry of a Zig Zag Bracelet Pattern
Let’s get technical for a second, but not too boring. A standard friendship bracelet moves in one direction. You go left-to-right or right-to-left until you hit the end. But the zig zag bracelet pattern demands that you change your entire philosophy of knotting mid-row. Observers at ELLE have also weighed in on this matter.
Basically, you are creating a series of diagonal blocks. You build a staircase going one way, then you have to literally reverse your brain to build it back the other way. This is where most beginners trip up because they don't adjust their knot tension to account for the change in direction.
Understanding the "Switch"
In a traditional pattern, you're using forward knots (FK) or backward knots (BK). In a zig zag, you’re frequently using "switch knots" or "edge knots" to create that hard border. If you don’t pull the second half of that knot tighter than the first, your zig zag will have "gaps" or "holes" at the corners. Think of it like a car taking a sharp turn; if you don't slow down and steer right, you're going into the ditch.
Why Cotton Quality Changes Everything
You might think that cheap craft store floss is fine. It is... sort of. But if you want that professional, high-definition look, you need to look at the ply.
Experts like Masha Knots or the community over at the friendship-bracelets.net forums often swear by DMC Embroidery Floss or Anchor. Why? Because the mercerized cotton has a slight sheen and, more importantly, it doesn't "fuzz" as much. When you’re doing a zig zag bracelet pattern, the threads rub against each other more than usual because of the directional changes. Cheap thread will fray, making your sharp zig-zags look fuzzy and indistinct by the time you're halfway through.
Also, keep an eye on your thread length. A zig zag consumes more "leading" thread than a simple stripe. If you start with 30 inches, you're going to be crying by the time you reach the fourth "zig." Always over-calculate. Better to waste six inches of string than to have to tie on a new piece in the middle of a clean design.
Mastering the Tension: The Secret Sauce
Tension is everything. Truly.
If you pull too hard, the bracelet curls like a pig's tail. If you're too loose, the pattern gets lost in a sea of loops. The trick with the zig zag bracelet pattern is consistency. You want the knots to sit "flush" against each other.
- The First Half-Knot: This sets the position.
- The Second Half-Knot: This "locks" the color.
When you reach the edge of the zig zag—the point where you have to turn back—you need to give that last knot a tiny extra tug. This acts as an anchor. Without it, the "point" of your zig zag will look rounded instead of sharp. Professional knotters often use a safety pin or a heavy-duty clipboard to keep the work immobile. If the base moves, your tension dies.
Real Talk: The "Mistake" You're Probably Making
Most people try to follow a grid without understanding the "leading thread." In a zig zag bracelet pattern, one thread is doing the work while the others just sit there and get knotted over.
You have to keep your "passive" threads—the ones being knotted onto—completely straight. If you accidentally pull the passive thread instead of the knotting thread, you get a "flip." This results in a dot of the wrong color showing up in your masterpiece. It’s annoying. It’s frustrating. And honestly, it’s the number one reason people give up on complex patterns.
If this happens, don't just keep going. Use a sewing needle to carefully unpick the knot. It sucks, but leaving a "flip" in a zig zag is like having a typo on a billboard. Everyone will see it.
Common Variations of the Zig Zag
Once you master the basic "Z" shape, the world opens up. You aren't stuck with just one line.
- The Multi-Tiered Zig Zag: This uses groups of colors moving in sync. It looks like a 90s arcade game screen.
- The Shadow Zig Zag: You use a dark color (usually black or navy) as a border for every turn. This makes the pattern "pop" and look almost 3D.
- The Interlocking Zig Zag: Two different zig zag lines that cross over each other. Warning: this is a nightmare for your first time, but it looks incredible.
Troubleshooting Your Tapered Ends
How do you finish it? A lot of people just tie a big, ugly knot at the end. Don't do that.
For a high-quality zig zag bracelet pattern, you should try a "tapered" finish. This involves slowly dropping threads out of the knots to create a triangle shape, then braiding the remaining strands. It makes the bracelet easier to tie onto your wrist and looks ten times more professional.
If you're feeling fancy, look into "loop starts." Instead of knotting the top, you fold your strings in half and create a small loop. This allows you to pass the end braids through the loop, making the bracelet adjustable and removable. Because let’s be real, wearing a crusty cotton bracelet in the shower for six months isn't always the vibe.
Actionable Steps to Perfect Your Next Piece
Ready to start? Don't just grab strings and hope for the best. Follow this logic:
- Select 4-6 high-quality colors. Contrast is your friend here. If the colors are too similar, the zig zag disappears. Pick a "bridge" color (like white or light grey) to separate the bolds.
- Cut your strings to at least 40 inches. Seriously. You'll thank me later.
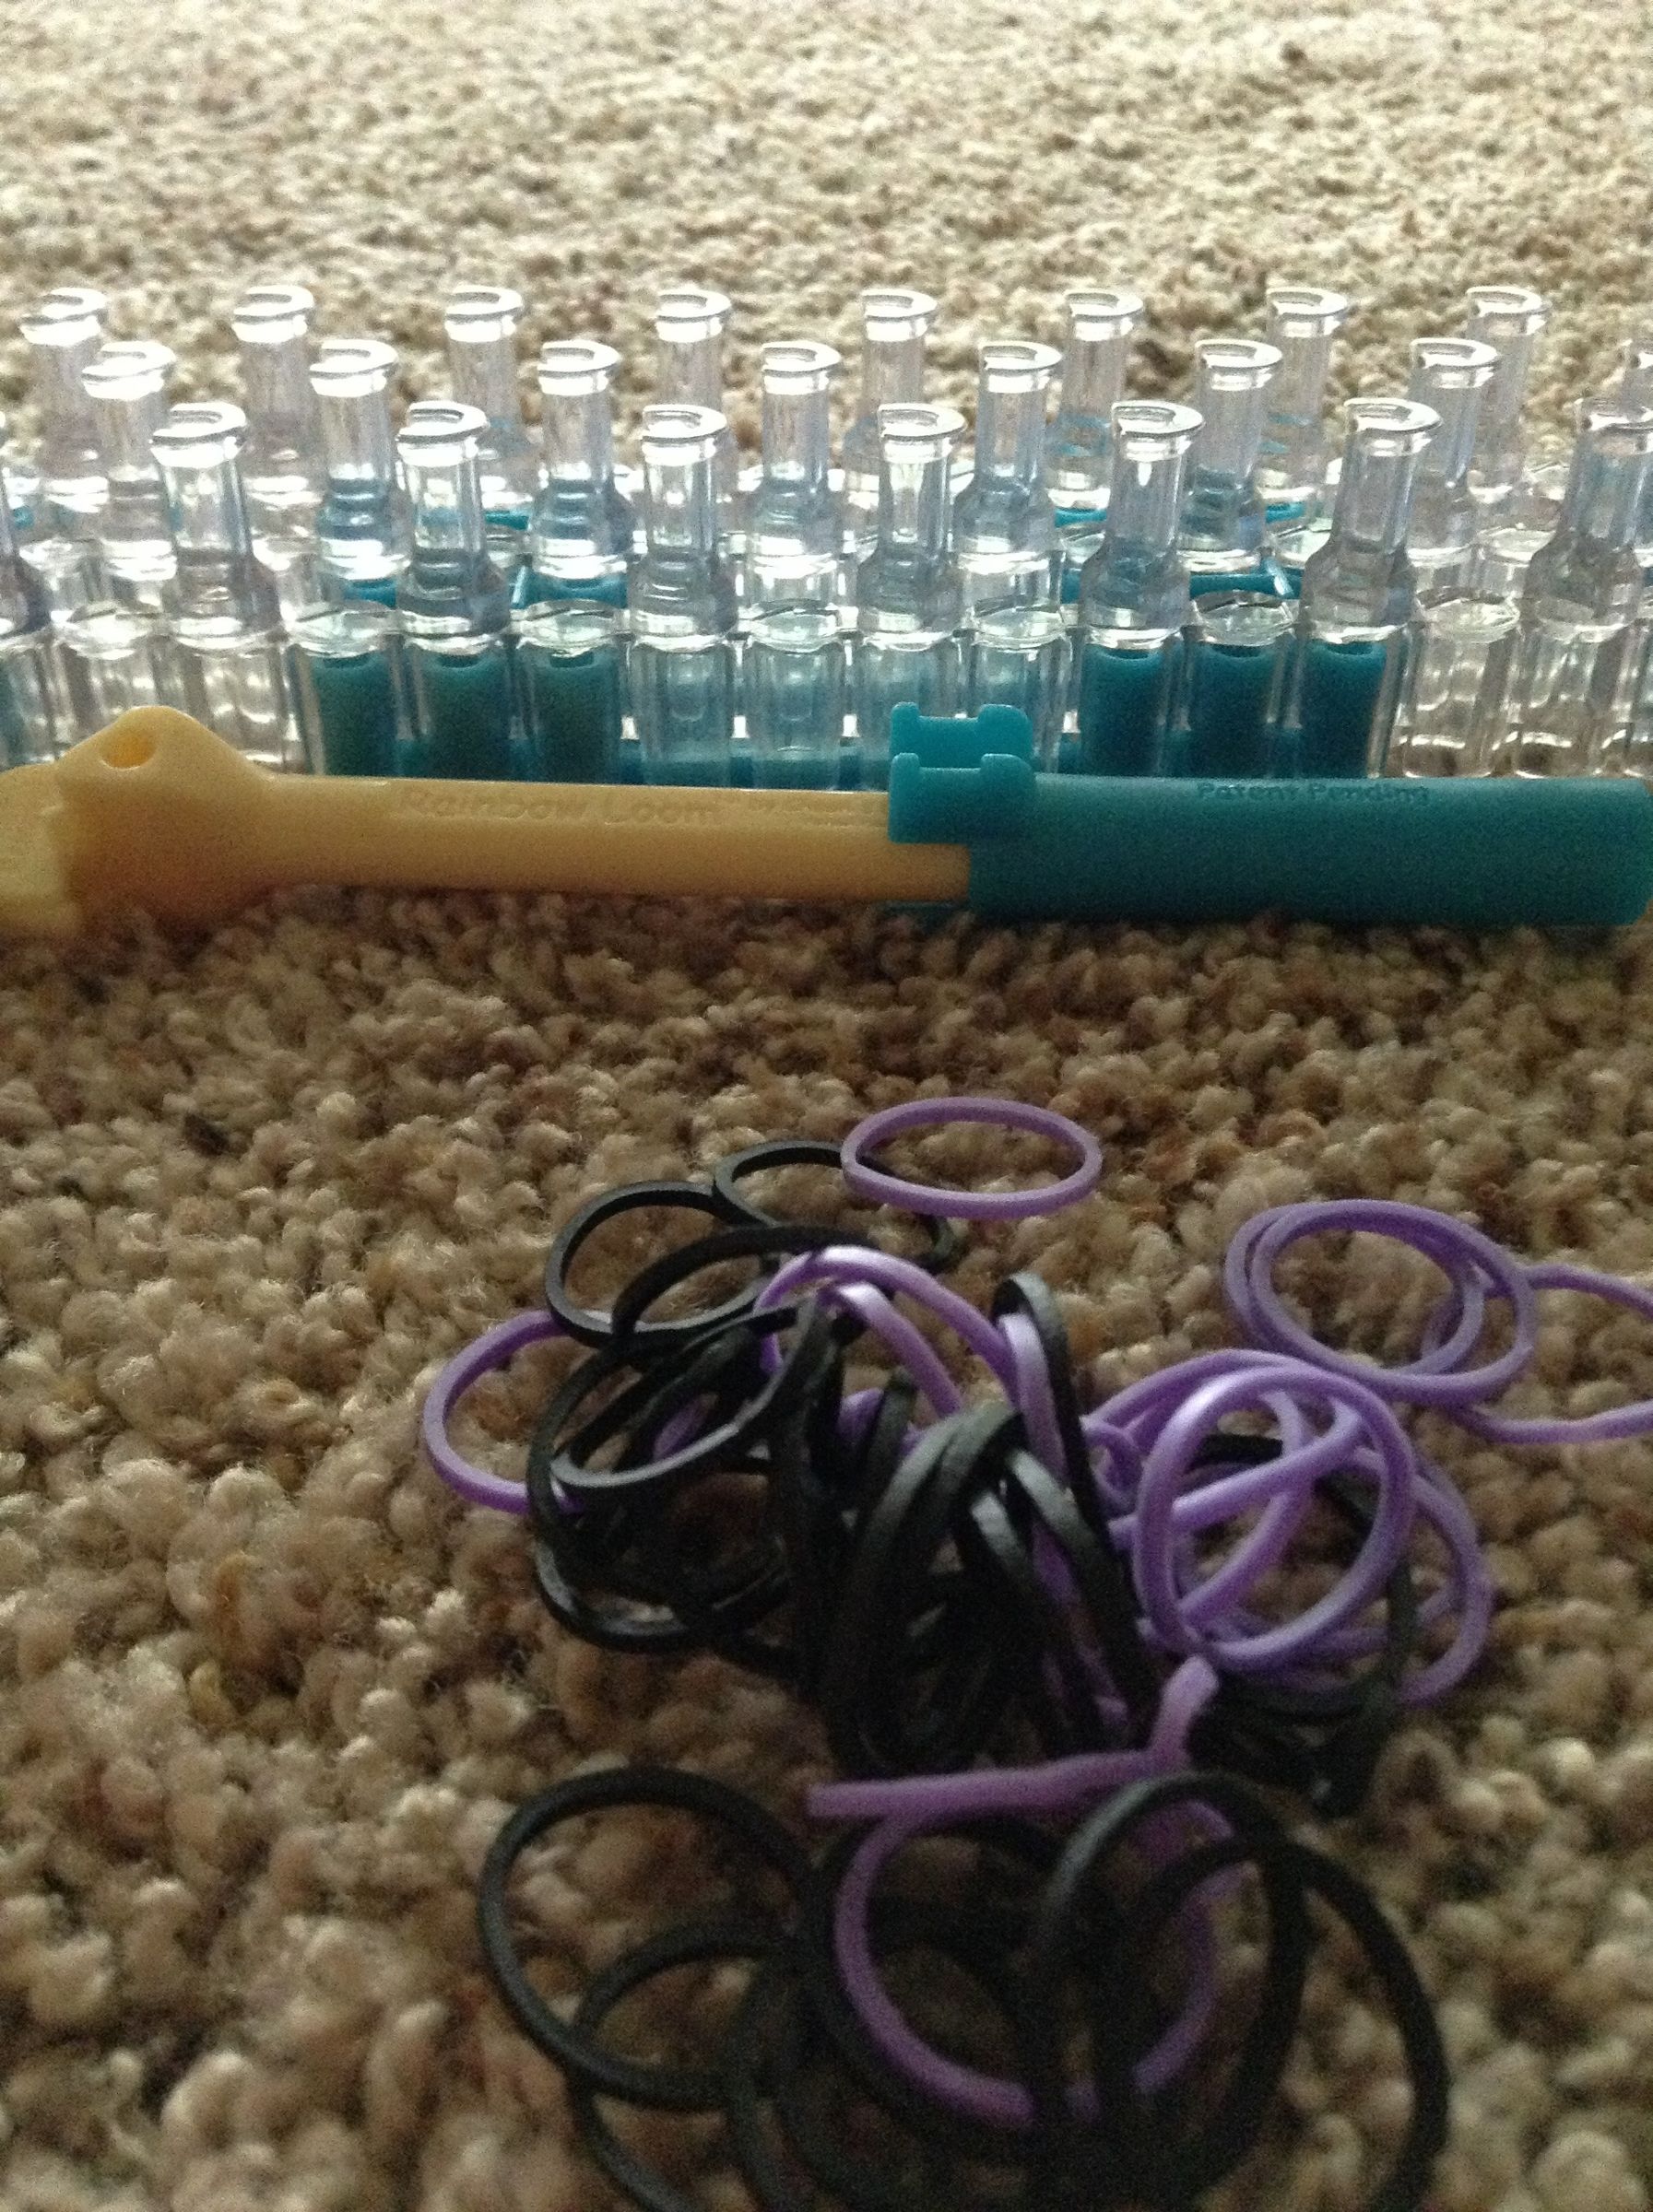
- Secure your work to a stable surface. Tape on a desk is okay for kids, but a clipboard with a rubber grip is the pro move.
- Focus on the "Pivot Knot." When the pattern tells you to switch from a forward knot to a backward knot, take a breath. Ensure that the "leading" thread stays on top.
- Check your progress every three rows. Hold the bracelet up to the light. If you see daylight between the knots, your tension is too loose. If the bracelet is twisting into a spiral, you're pulling like a monster. Ease up.
The zig zag bracelet pattern is a test of patience. It’s rhythmic, almost meditative once you get the hang of it. But it demands respect. Treat each knot as its own little sculpture. If you rush, it shows. If you take your time, you end up with a piece of wearable art that people won't believe you made by hand.
Get your floss organized. Clean your workspace. Start slow. The sharpest zig zags aren't made with speed; they're made with deliberate, consistent tension and a bit of stubbornness. You've got this.
***